Creating PBR materials
Overview
The PBR workflow is much more complicated than the standard Source workflow. While most Source textures can be created with a simple image editing program like GIMP, PBR textures need many more textures, some of which cannot be made with a simple paintbrush or pattern tool (well, they can, but it's not recommended). These textures need specialized programs to create them, of which there are a couple of options. This page will not cover the creation of these textures, as many tutorials already exist on this topic. This page will however go over the creation of MRAO textures and the creation of the material file.
Obtaining PBR textures
As stated before, PBR textures need to be created in specialized programs. If you do not possess a license to paid programs like Adobe or a computer powerful enough to run programs like Blender, some free and relatively easy-to-run programs exist like Materialize . Here is a list of textures needed to create a fully functional PBR material:
Metalness map (Defines what parts of your material are metal)
Roughness map (Defines the Roughness/Non-Reflectivity of parts of your material)
IMPORTANT: If the program you used to create these textures labels these as "Glossiness" or "Smoothness" maps, make sure you invert the colors before proceeding! Strata uses Roughness textures for PBR instead of Smoothness. They are the same type of map, just with inverted colors.
Ambient Occlusion map (Specifies which areas of the texture are "behind", or always shaded. You can compare this to what an SSBump map accomplishes, however with no additional bumpmapping. For the sake of this article, Ambient Occlusion will be referred to as AO.)
Note:AO maps are not required for PBR to work properly.
Bump (Normal) map with optional Height map in alpha channel (Standard bump map that is usually used with standard Source workflow, but it can optionally include a Height map in the alpha channel of the texture for Parallax Mapping )
Warning:SSBump maps are NOT supported! To get a similar effect, use an AO map.
For the sake of demonstration, this article will use images of the process of converting black_wall_metal_005a to use PBR.
Creating the MRAO texture
What is "MRAO"?
A Metalness, Roughness, Ambient Occlusion map is a texture that contains the first 3 texture maps listed above in the RGB channels of the texture, respectively (Metalness on the Red channel, Roughness in the Green, AO in the Blue). This texture is used to compress the usually 3 needed maps down into one to free up drive space. While this might not seem like much space, this quickly adds up the more PBR materials your game/mod contains. While most programs do not contain a simple button that does this for you, there are very easy ways to create this texture with basic programs like GIMP , or with specialized programs like PBR-2-Source .
Method 1: GIMP
GIMP can combine different layers into the RGBA channels of one texture, which makes creating MRAO maps using GIMP trivial.
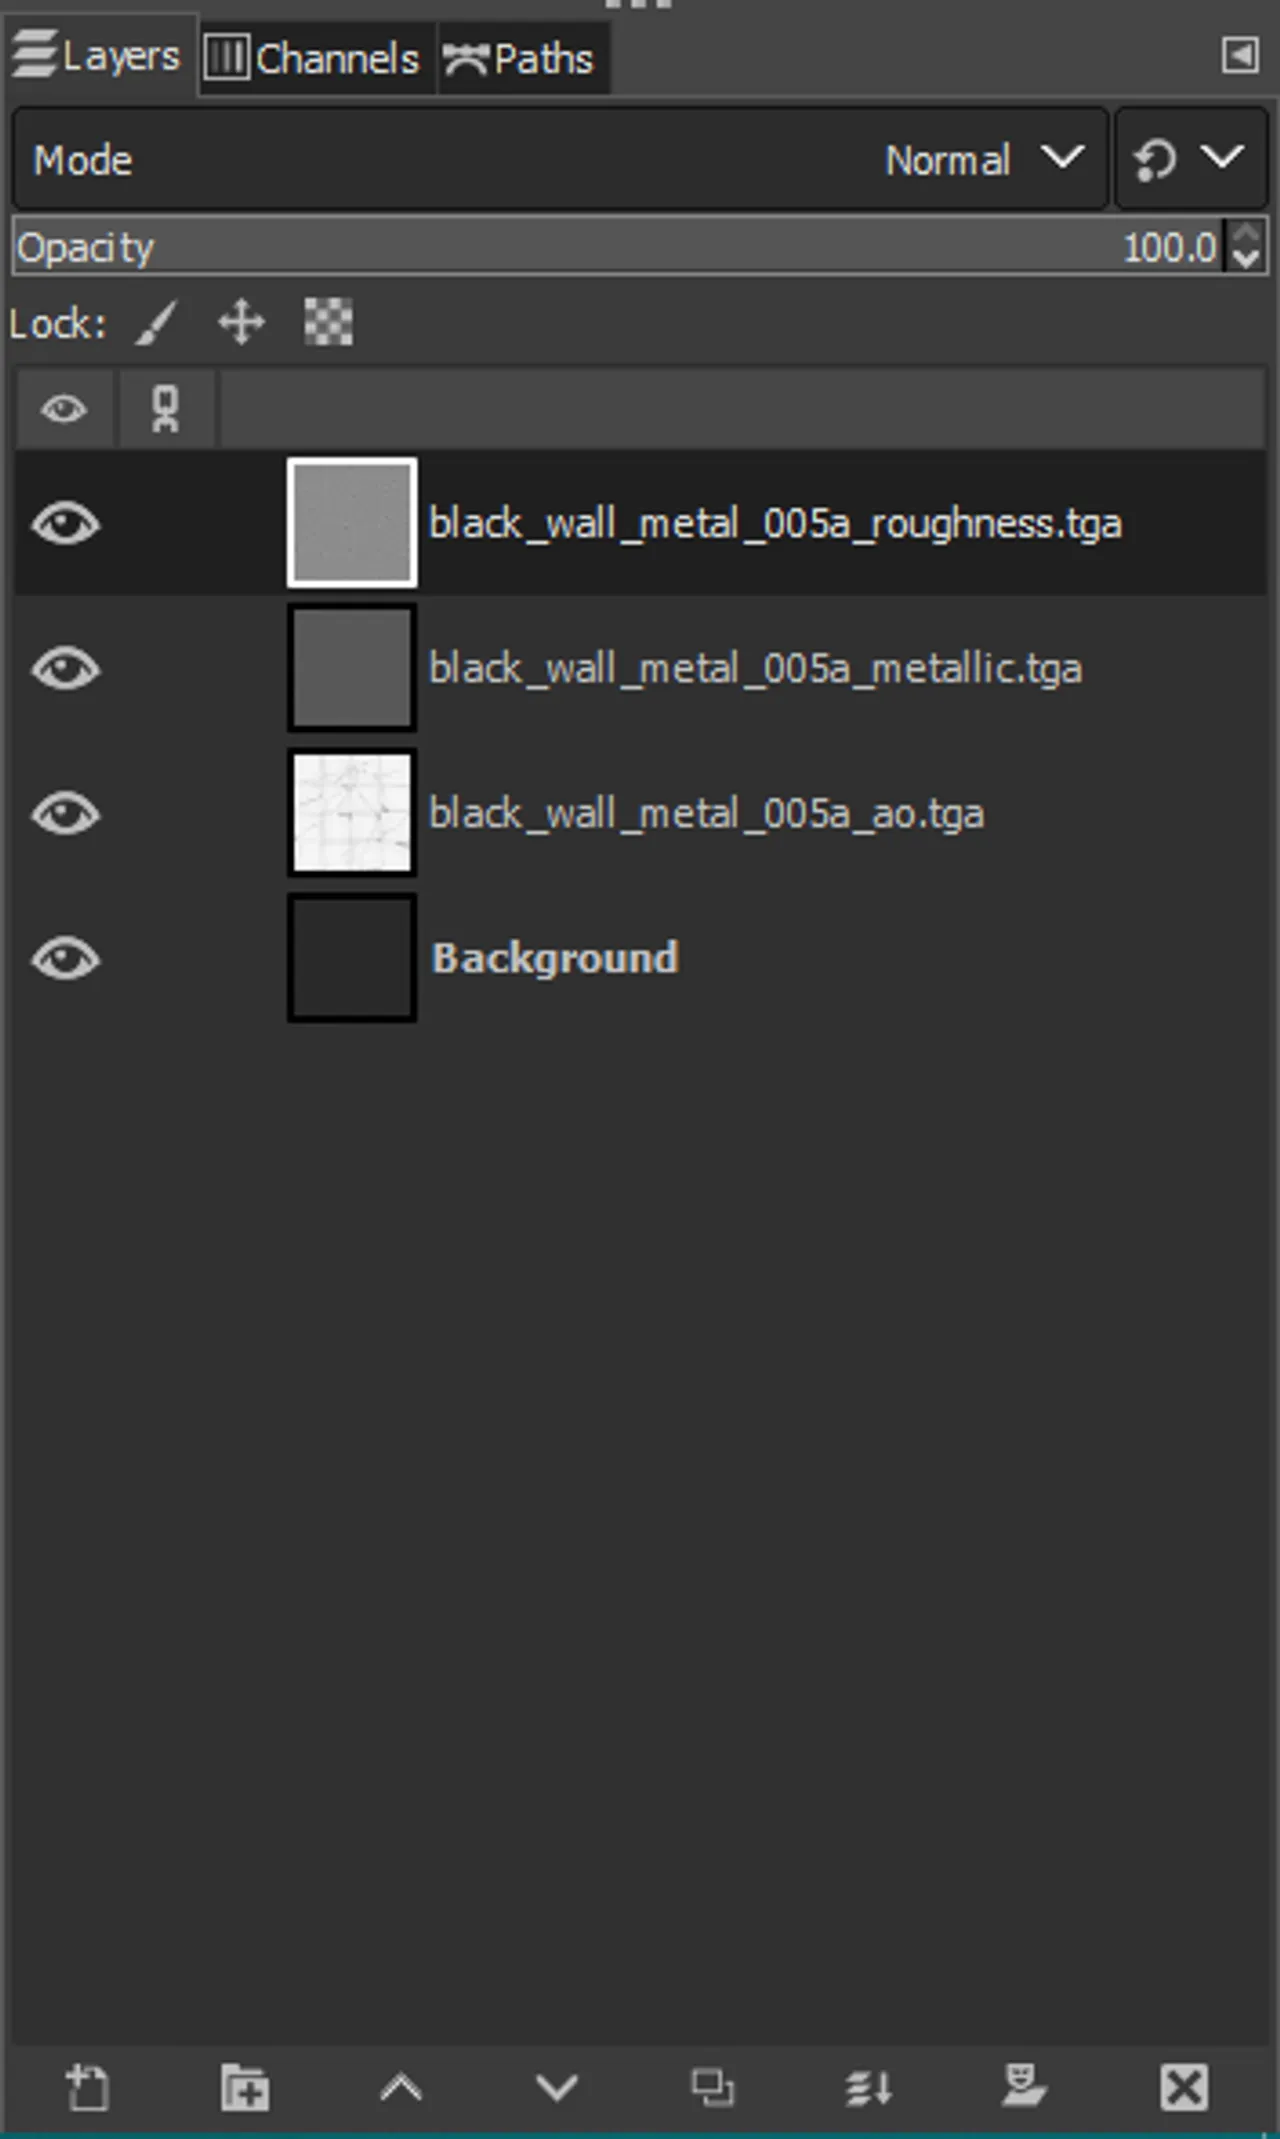
First, go to "Image -> Mode" and make sure "Grayscale" is selected. Even if your images are grayscale, GIMP may still treat them as color images, which prevents this method from working. Then, create a new image with the dimensions of your texture maps. Go to file and click "Import as layers...", select your Metalness, Roughness, and AO maps, and click Import. Your layers should now look similar to this (order is irrelevant):
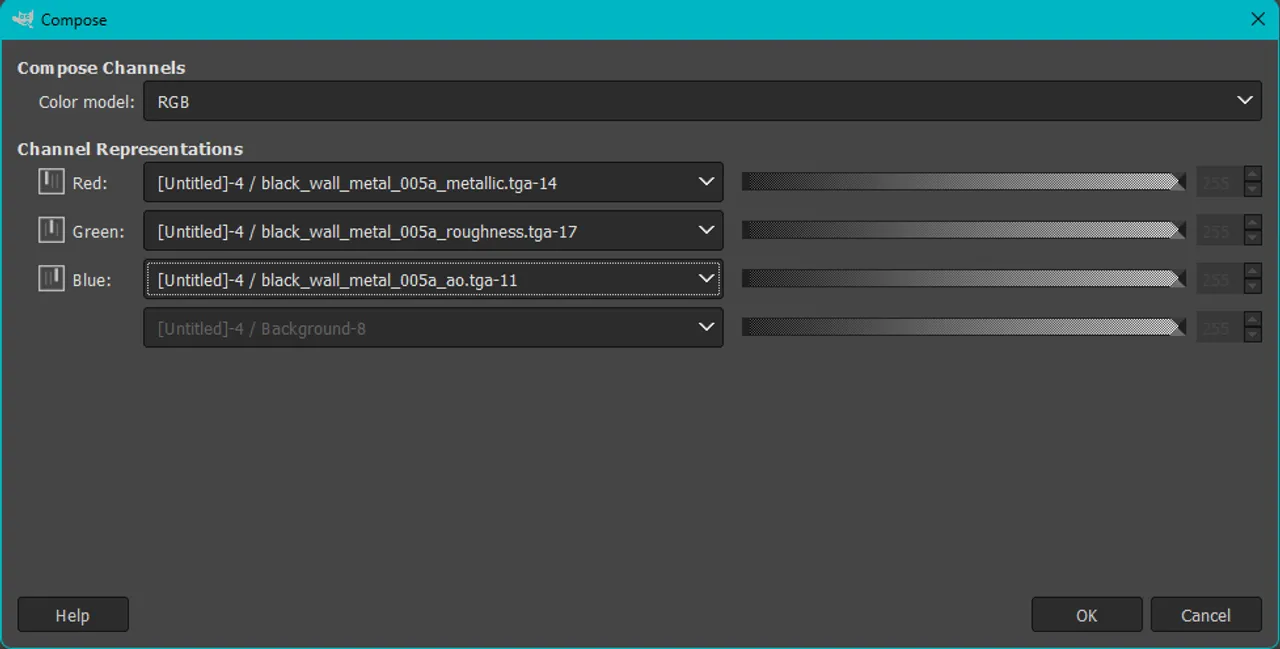
After this, go to "Colors -> Components -> Compose...". Put your Metalness map in the Red channel, your Roughness map in the Green, and your AO map in the Blue. The dropdowns should look like this:
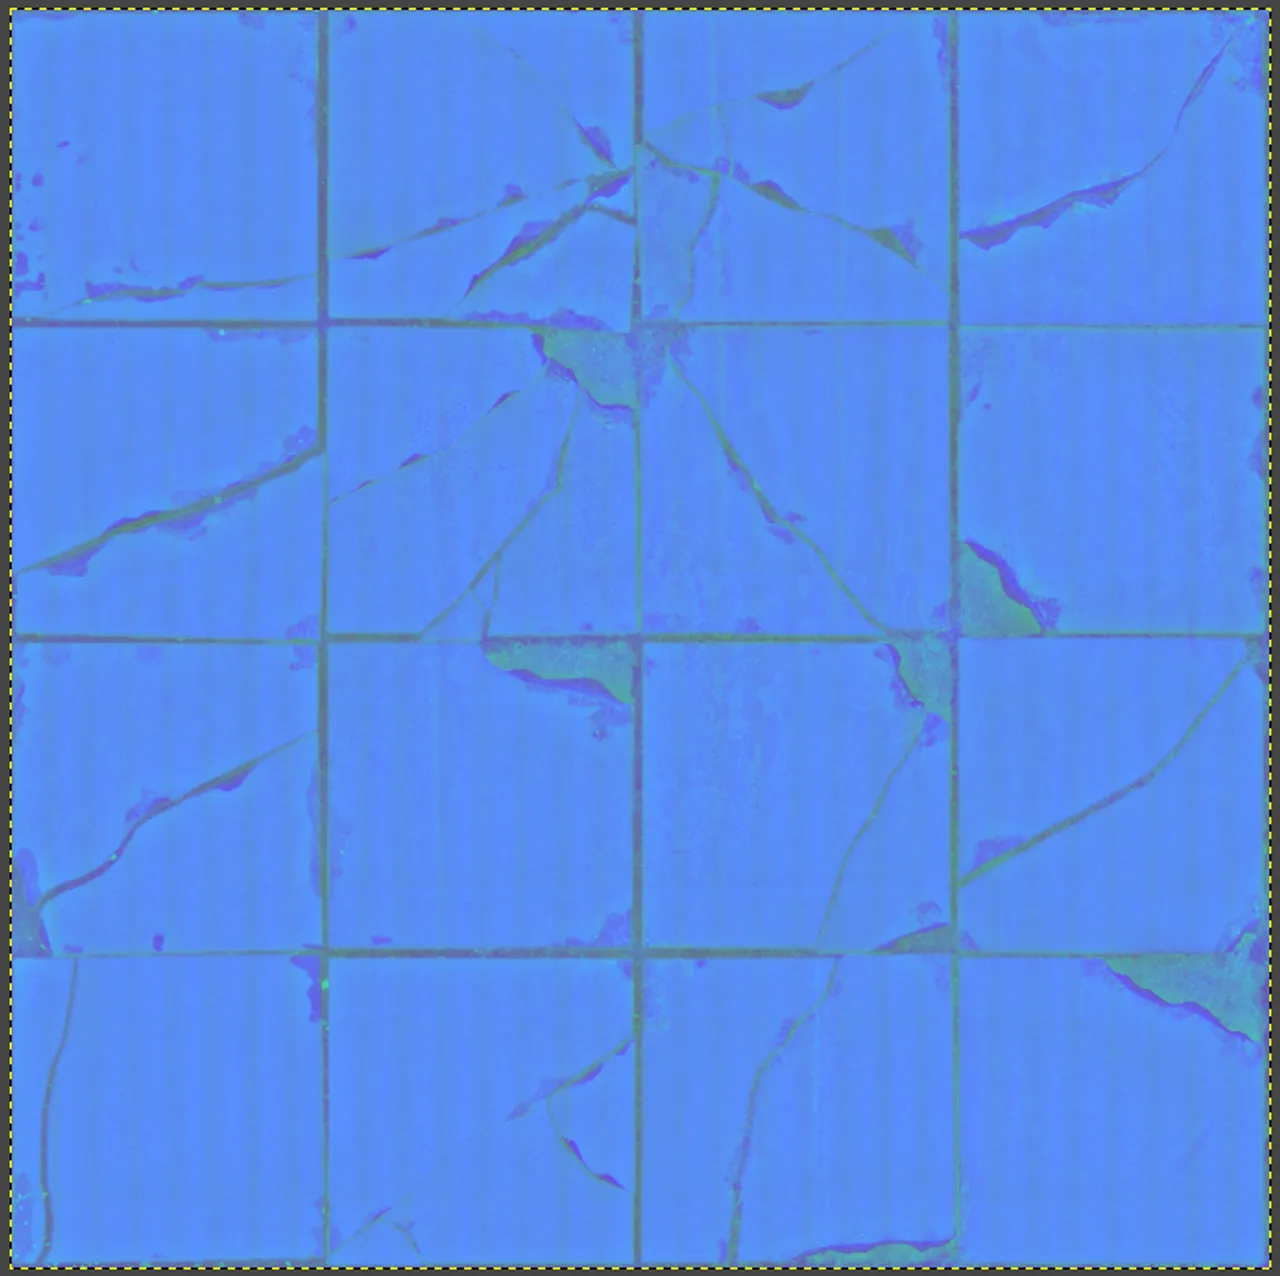
Now, click OK and let GIMP compose the image. After it finishes, you should get an image that looks similar to this:
Note: Your image could have a different balance of colors depending on the intensity of each map The final step of making an MRAO texture is converting it to a VTF. This can be done with VTFEdit , or our VTex2 tool, which supports Strata's new VTF 7.6 version.
Manual VMT creation
Create a new .VMT file and paste this text in:
Insert the paths to the correct materials where specified, and you are done!
Method 2: PBR-2-Source
Launch PBR-2-Source and wait for the GUI to appear. Insert your images into the correct boxes and double check that the "Shader" option is set to "PBR (<intended use>)". Next, make sure the "Flip Normal Y" check is set correctly. If the program you used uses 3DS Max style normal maps, or you generated it from VTFEdit or pulled from an existing Source game, toggle the option off. If the program used to generate the map uses Maya-style normal maps, toggle the option on. If you are unsure what style of normal map your program uses, make sure to find out before going further, or the generated normal map could look, for lack of a better word, "ugly". After you do this, click export, select the folder and the output file name, then wait for PBR-2-Source to do the work for you. It will generate a fully functional PBR material.
Finalizing
All that is needed now is the editing and testing of your material. If your PBR material includes a Heightmap in the Alpha channel of your Bumpmap, see This page on how to make it functional. Make any adjustments you want to your VMT, and you are done!


